Stuck on Repairing Disk Errors After a Hard Shutdown in Windows 11

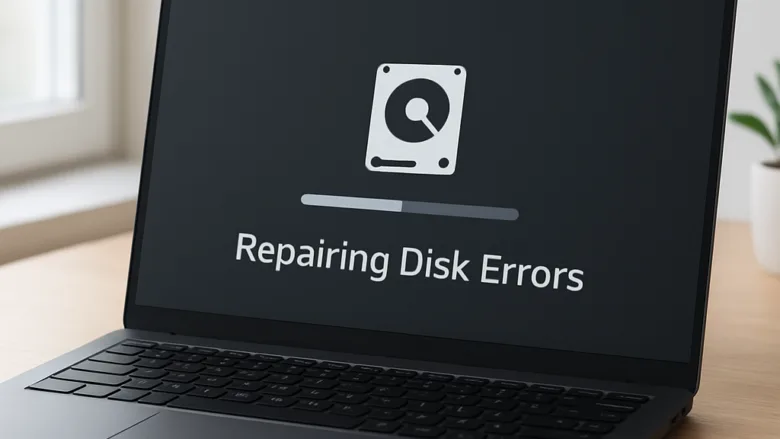
A frozen “Repairing disk errors” screen in Windows 11 usually appears after a hard shutdown. That means a sudden power loss, or holding the power button to force the PC off. The screen means Windows is running Check Disk (CHKDSK). This built-in tool scans your drive for broken files and fixes damaged areas after an improper shutdown.
When the progress bar stops moving, something is stopping the repair from finishing. The cause could be a system glitch, bad sectors on the drive, or corrupted startup files. In most cases you can break out of the loop and get back to your desktop without losing personal files. This guide goes from the safest fixes to the more involved ones, and ends with how to back up your data if the drive is failing.
To fix being stuck on repairing disk errors after a hard shutdown in Windows 11, turn off your computer by holding the power button, unplug all external devices except your mouse and keyboard, and restart. If the loop continues, force a shutdown two or three times during startup to open the recovery menu.
Why Does Your 🪟 Windows 11 PC Get Stuck on Disk Repairs?
A hard shutdown stops the drive in the middle of writing data. That leaves broken files and an inconsistent file system. On the next startup, Windows sees this and launches its repair tool, which can get stuck on the damage. These are the usual causes:
- Corrupted File System: The sudden power loss left half-written data that confuses the repair tool.
- Failing Hardware: Your hard drive or Solid State Drive (SSD) may have physical damage or bad sectors that the tool cannot read or fix.
- Software Glitches: A Windows update that was interrupted by the shutdown can leave the system half-installed and stall startup.
- External Devices: Connected USB drives, printers, or external hard drives can sometimes lead Windows to scan them instead of your main drive.
Before you force anything off, check the drive activity light if your PC has one. A large hard drive can take several hours to finish a scan, and the percentage can sit at one number for a long time. If the light is still flickering, give it time. If the screen has not changed and the light is dead for an hour or more, move on to the fixes below.
Step 1Unplug All External Devices
This is the quickest fix and the one to try first. A connected USB or thumb drive can confuse the PC during startup, and Windows may try to scan that device instead of your main drive.
- Turn off your computer completely. Hold the power button for about 10 seconds until the lights go out.
- Unplug every external device. That includes USB flash drives, external hard drives, printers, webcams, memory cards and extra monitors. Leave only the mouse, keyboard and main monitor connected.
- Turn your computer back on normally.
- Watch the screen. If Windows skips the repair screen and loads the sign-in screen or desktop, the problem was one of the devices.
If it works, plug the devices back in one at a time, restarting between each, to find the one that caused it. If the repair screen comes back, continue to the next section.
Step 2Interrupt the Repair Loop to Access Recovery Options
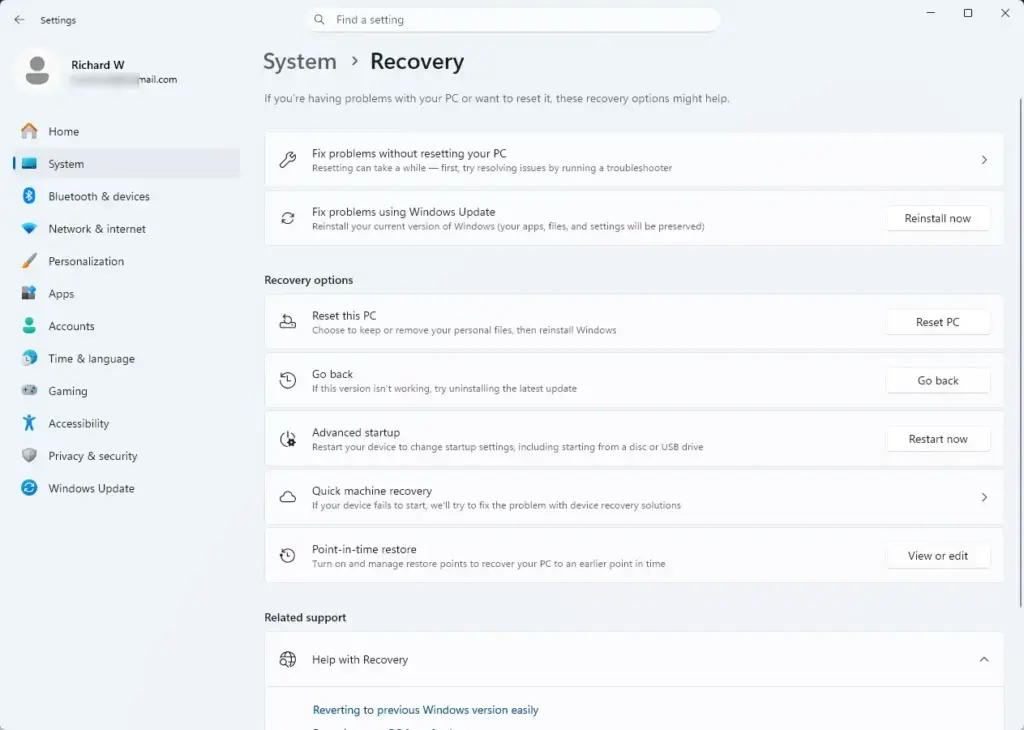
If the PC will not leave the repair screen, you can force it into the Windows Recovery Environment (WinRE). Windows opens WinRE on its own after it fails to start a few times in a row. You cause those failures by cutting the power while it loads. From WinRE you get the troubleshooting menus.
If the screen has been frozen for hours with no drive activity, it is the only way out.
- Press and hold the physical power button for 10 to 15 seconds. Release it when the screen is black and the power light is off.
- Wait 5 seconds.
- Press the power button once to turn the PC back on.
- As soon as you see the manufacturer logo or the spinning Windows loading dots, press and hold the power button again to force it off.
- Repeat this cycle of turning on and immediately forcing off two or three times.
- On the next startup, let the PC run. Windows should detect that it cannot start properly. You will see "Preparing Automatic Repair", then a blue screen titled Automatic Repair or Choose an option.
If you land on the Automatic Repair screen, click Advanced options to reach the Choose an option screen. This blue screen is the starting point for the fixes below. If your drive is encrypted with BitLocker or Device Encryption, you may be asked for your recovery key. You can usually find it by signing in to your Microsoft account on another device.
Step 3Run Startup Repair from the Recovery Menu
Startup Repair scans your system files and tries to fix boot problems automatically. It is the safest recovery tool, so use it before anything more manual.
- On the Choose an option screen, click Troubleshoot.
- Click Advanced options. You should see a grid of recovery tools.
- Click Startup Repair. The PC restarts and shows a "Diagnosing your PC" message.
- Choose your user account if prompted. Type your account password if asked. A Microsoft account uses the same password you use to sign in.
- Let Windows scan and attempt the fix. This can take anywhere from 10 minutes to half an hour.
When it finishes, the PC restarts on its own. If you see "Startup Repair couldn't repair your PC", the problem is deeper. Go on to the Command Prompt method.
Step 4Use Command Prompt to Stop and Fix Disk Errors Manually
The Command Prompt in the recovery environment lets you run CHKDSK yourself, outside the normal Windows startup. That often gets past the stuck loop.
- Return to the blue recovery screen using the steps in the previous section. Click Troubleshoot, then Advanced options, then Command Prompt. The recovery environment already runs with administrator rights. You may be asked to pick your account and enter its password. A black Command Prompt window should then open.
- Type chkdsk C: /f /r and press Enter to check your main drive. The drive letter can differ in the recovery environment. If the command says the drive cannot be found, check the letter using the file browser method in the backup section at the end of this guide.
chkdsk C: /f /r
Let the scan run. The /f part tells Windows to fix any errors it finds. The /r part tells it to look for bad sectors on the drive and recover readable data.
The /r scan reads every part of the drive. On a large hard drive it can take several hours. Do not interrupt it. Wait until it finishes and shows a summary report on the screen. Ideally, keep a laptop plugged in to mains power while it runs.
When the scan finishes, type shutdown /r /t 0 into the Command Prompt window and press Enter. This restarts the PC right away and clears temporary memory glitches. If the repair loop does not come back, you are done.
exitIf you closed Command Prompt instead of using the shutdown command, click Continue on the recovery screen to exit and boot into Windows 11.
Step 5Uninstall Recent Updates in Safe Mode
If an interrupted update corrupted startup files, removing that update in Safe Mode can end the loop. Safe Mode loads Windows with only the basic drivers and services, so it often starts when normal mode will not.

- From the blue recovery screen, go to Troubleshoot Advanced options Startup Settings If you do not see Startup Settings, click See more recovery options first.
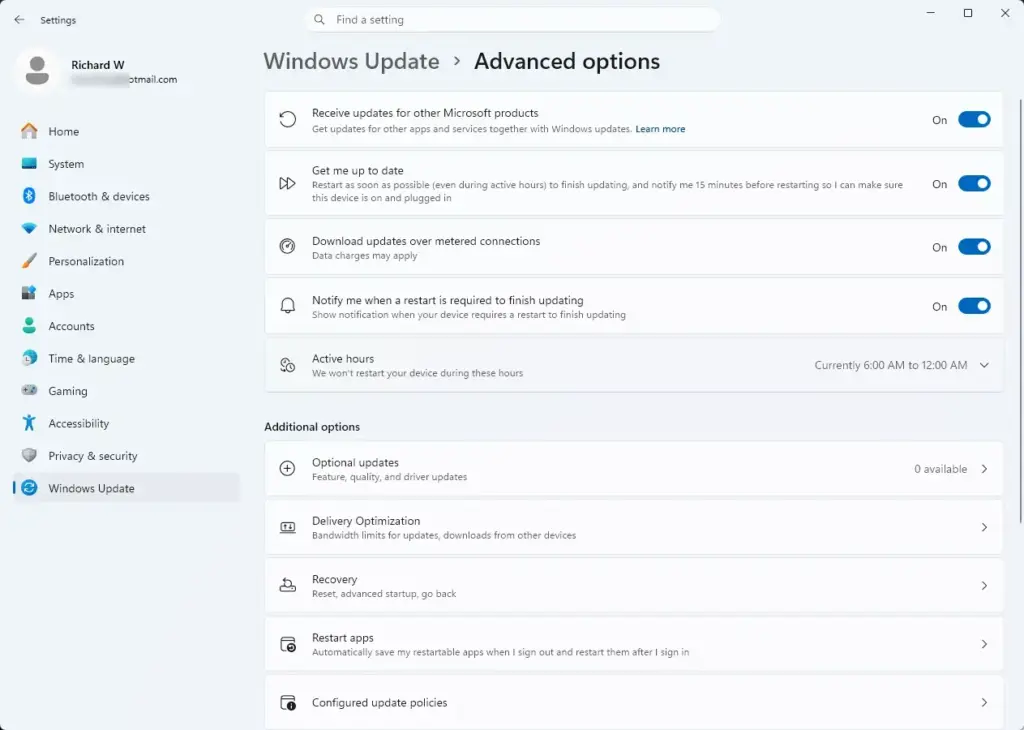
- Click the Restart button in the bottom right corner. The PC restarts and shows a list of numbered options.
- Press 4 or F4 on your keyboard to select Enable Safe Mode. If you need internet access in Safe Mode, press 5 or F5 for Safe Mode with Networking.
- Once the PC boots into the Safe Mode desktop, click the Start button and open the Settings app. The screen resolution will look low and the background will be black. That is normal.
- Click Windows Update in the left menu, then click Update history.
- Scroll down and click Uninstall updates. A list of installed updates should appear.
- Select the most recent update installed just before the problems began, and click Uninstall.
- Restart your computer normally.
To leave Safe Mode, a normal restart is enough. Windows will try to install the update again later, so pause updates for a few days if the problem returns. If Safe Mode will not start, look for an Uninstall Updates tile under Troubleshoot Advanced options in the recovery environment, which does the same job without booting Windows.
Step 6Check Your Hard Drive Health (Unique Expert Tip)
If none of the software fixes work, the drive itself may be failing. A physically damaged drive ignores software repairs, so test it. You will need another working computer and a blank USB flash drive of at least 8GB to build a bootable diagnostic tool.
- On the working computer, prepare the USB flash drive for a bootable diagnostic tool. Anything already on it will be erased.
- Download a free, trusted hardware diagnostic tool such as Ultimate Boot CD. Alternatively, use your manufacturer's built-in diagnostics, such as Dell SupportAssist or HP PC Hardware Diagnostics. You usually open these by pressing a key such as F12 or F1 immediately after turning on the PC. The key varies by brand.
- Run a S.M.A.R.T. test (the drive's built-in health monitoring system) or a short hard drive test.
- Read the result. If the test reports that the drive has failed, has too many bad sectors, or shows a "Critical" health warning, the drive is dying. Software repairs will not work. You will need to replace the drive with a new SSD and reinstall Windows.
If the drive is failing, back up your files before doing anything else. The next section explains how.
Step 7Back Up Your Important Files Without Booting Windows (Unique Expert Tip)
You can copy your files without booting Windows by using Notepad's file browser from the recovery Command Prompt. This is worth doing before you reset the PC, replace the drive, or try anything risky. You need a blank USB flash drive or external hard drive with enough free space.
- Boot into the Windows recovery environment using the power button interruption method described earlier in this guide.
- Go to Troubleshoot Advanced options Command Prompt The recovery environment already has administrator rights.
- Plug in your USB flash drive or external hard drive to store the backup. Do this before opening Notepad, so the drive shows up in the file list.
- Type
notepadinto the Command Prompt window and press Enter. This opens Notepad, which we can use as a basic file browser. - In Notepad, click File in the top left corner, then click Open.
- Change the "Files of type" dropdown at the bottom from Text Documents (*.txt) to All Files (*.*). Folders and files of every kind should now be visible.
- Use the window like a normal file explorer. Click This PC to see your drives. In the recovery environment, your main drive may not be C:. It can appear as D: or E:. Look for the drive that contains the Users folder.
- Find your personal folders, usually inside
C:\Users\USERNAME\. Right-click the folders holding your important documents and pictures and click Copy. Navigate to your plugged-in external drive, right-click an empty space, and select Paste. Large folders can take a while, so wait until the copy finishes. - Once your files are copied, open the external drive in the same window to confirm they are there. Then close Notepad and the Command Prompt.
Summary
To fix a Windows 11 PC stuck on repairing disk errors after a hard shutdown, work through the fixes in this order. Unplug external devices, interrupt the boot loop to reach the recovery options, then run Startup Repair or CHKDSK from Command Prompt. If software fixes fail, test your drive's health and back up your files so your data stays safe.
Was this guide helpful?

About the Author
Richard
Tech Writer, IT Professional
Richard is a writer at Geek Rewind who turns complex IT tasks into clear, step-by-step guides. He draws on years of hands-on experience in system administration and enterprise IT operations, focusing on Windows, Linux and WordPress: the problems people actually run into, and the fixes that work. His server and WordPress guides come from systems he runs himself. Richard builds and maintains the platform behind Geek Rewind, from its Ubuntu servers and Nginx configuration to its custom WordPress plugins. Many new tutorials start with readers' questions, and he's always glad to answer them in the comments.
No comments yet — be the first to share your thoughts!